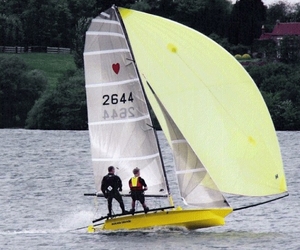
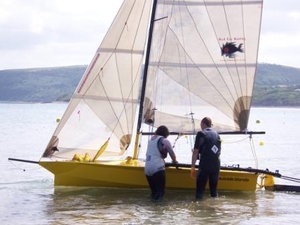
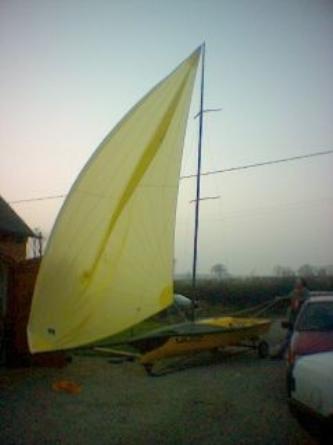
Suicide Blonde (The Iain Christie Years)
This page will hopefully show any prospective new Cherub owners put off by the whole carbon fibre DIY thing that it is perfectly possible to pick up and older boat, and with the help of the rest of the class, learn the skills needed to have a go at doing some conversion work yourself, and make a perfectly decent little twin-wire skiff.
The conversion is described in general below, with some more specific construction details below that in handy section linked to from here:
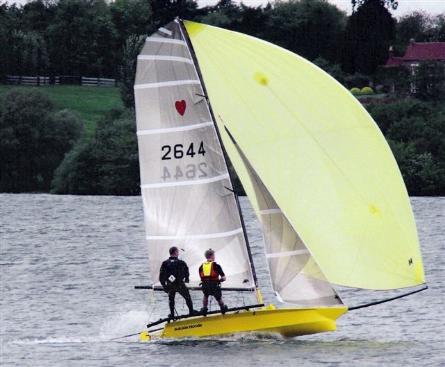
I bought Bistro 2644 Suicide Blonde in summer 2004 after it became obvious that although she was a great boat and an ideal way into the class, my Hotdog 2539 Team Ecocats (now the immaculately restored and since reincarnated Whamm!) was not really going to be a suitable project boat for twin wires and a dirty great big carbon rig.
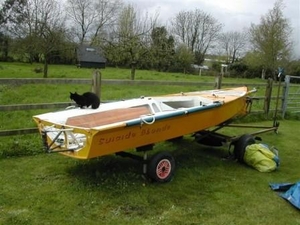
As far as I know the hull was built in the early 90’s by Simon Roberts and then she was decked and finished by Andrew Horton. She did the ’93 Nationals, and then by all accounts was left outside and unused. When I got her, she looked a bit tatty, but the hull was beautifully fair where it counted, and she really needed very little to get sailing again, the biggest problem being a HUGE mouse-hole in the kite!
A few new bits of bungee and a coat of paint later and she was ready for her first outing at my home club of Draycote Water. Although she had a pre ’97 rules tin rig, I’d added twin wires, and the obligatory carbon carp-landing poles as tiller extensions. Needless to say the outing was very wet, and I winced as both myself and my crew stuck our hooks through the freshly painted deck a few times, but it was a complete giggle and I loved it.
However straightaway I started making a mental list of stuff that I needed to change- first was the rudder. It was a truly awful thick varnished plank of wood, with a semi elliptical tip that was bizarelly the wrong way round. It was heavy and it stalled a lot. It was also mounted in a particularly nasty Rondar cast ally stock with a bent tiller. Not nice. Next was the daggerboard…it was a huge heavy thing, also varnished wood, and on my first outing we’d managed to snap 1” of trailing edge off it. Funny, we put this lethal looking snapped piece up inside the starboard tank, but it obviously got wedged inside somehow and is still there to this day…
Also, although the rig was straight and in great condition, it was, well, a bit metallic and a bit small. The retro bobstay on the ally pole did zippo for my boatpark street-cred and the awful 3-string kite system was truly hopeless.
So I started thinking and scavenging…and soon I’d been given a broken RS800 rig, a broken 49er pole and a complete, unbroken RS600 Angel mast. I’d also found a cheap slightly ripped RS800 kite (in yellow, perfect!) Now what could I use those for I wonder?
I also bit the bullet and ordered my first load of carbon from Wiz at Matrix Mouldings. I rebuilt the trailing edge of the daggerboard from bog, and sheathed the whole thing in UD and weave. It was a bit stressful, but seemed to work OK…I had now created a huge great heavy black daggerboard that reminded me of that giant paving slab in the film 2001…but hey, it was unlikely to break at any rate.
A few months later and my rudder was put to the top of the to-do list when the stock exploded with a loud bang one windy Saturday afternoon at my home club, Draycote Water. I was lucky…someone from the Fireball fleet managed to trash one of those nice Winder epoxy Kevlar stocks the very next day, and I’d soon done a deal on it. I spent the next week making a glass/carbon bush by winding tape round a suitably parcel-taped screwdriver, and then attached the bush to the stock with bog and many layers of UD of varying lengths going round the bottom web of the stock. A bit of glass bubbles filer mix and some careful rubbing down and it soon looked good as new.
So to the rudder itself…I was going to attempt to build it from scratch. Lots of people gave me lots of advice (thanks Will, Simon, Ben, Gav) and I eventually decided on a routed cedar blank and plenty carbon. To keep things simple I decided on a parallel sided foil of the NACA0010 profile, with just a quarter-ellipse at the tip…the curvy bit at the front on this new one unlike the old plank! I had not actually used a router before so I decided to build a jig to slide my cedar blank through and rout across the foil rather than along it-the theory being that it’s far more accurate at the edges. I wrote a spreadsheet to calculate the measurements of the jig, and soon I was stood in a pile of sawdust looking at a very nice looking cedar foil core. A few evenings of laminating later and it was done, complete with the very efficient downhaul system of the Winder stock. Of course, my own Fireball has the same stock (with a much longer tiller!) so I’ll have to try it in there one day and hope no-one notices the carbon…
The first outing of the new rudder was at Carsington. Now, I know some of the people reading this have designed and built their entire boats, but to say I was chuffed to bits with my handiwork was an understatement! It worked perfectly, was beautifully balanced (according to El Presidente just before he slammed me, the crew, into one of Carsington’s steel mooring bouys whilst muttering something about not being able to either head up or bear away…), and more to the point, DIDN'T BREAK!!!!
I was feeling confident by now, and knew that the time had come to look at building a bigger rig. I wanted to re-use as much of the scrap carbon as possible, and a few measurements confirmed that the following plan might just be possible. Cut a section out of the 49er bowsprit and use this as a slightly tapered snout tube…just perfect for the RS800 topmast to slide through as a bowsprit. The RS600 mast was to be used as the new mast, with a total length of 6.10 metres it was bang-on to sit on top of a stump made from the bottom of the RS800 mast, keeping the gooseneck exactly where it was. This left one more piece of RS800 mast-just perfect for a new boom. Simon Roberts very kindly (or stupidly?) offered to lend his garage and expertise to the project, and we started just after Christmas 2004.
I started the big chunk of the project where anyone would-the trailer! A few hours with the grinder and Smoothrite, and some new mudguards and reflectors will hopefully add a few more years to the combi’s life and make the thing road legal again. Time to get on with the more exciting bits now…
First job was the snout. Original plan was a bit of a nibble off the front, and a P7 style tube and support. However, we soon decided to take a bit more of SB’s flat foredeck off, and add a more Slug-shaped snout. However, whilst my back was turned and before you could say “Black & Decker” Simon had jigsawed the whole deck off, (never leave this man unattended with power tools and an outdated looking Cherub) and we’d made the decision to replace it with something a little more curvy and make some modifications to the spaceframe.
The 49er pole section was glued in first between the top and bottom sections of the space frame. We were extremely lucky…it was almost made for it. The spaceframe ran forward from the mast area under the foredeck, although bizarrely did not actually attach to the stempost which seemed to be hewn from solid mahogany. It then ran back at the level of the top of the bowtank and left a perfect place for the tube to be bogged into. I know that not all Bistros are built this way, hence the need for an offset pole. Next, the new carbon front bulkhead was installed, laminated up from a piece of foam and carbon, and a carbon tube going from the end of the snout down to a point on the stem just above the regulatory 200mm mark. It was at this point that I was introduced to Mr Peel Ply, and I wished I’d known more about it before I made the rudder…it may have come out somewhat lighter. Ho Hum.
When this was all laminated in place, we then took the spaceframe out, and carefully glued the stump in place, with a 4 degree backward sweep. We chopped the spaceframe off just behind the new tube, the theory being that once the tube had been glued in properly, it was likely to be pointing in the right direction…if we’d taken the spacefarme out first it would have been much harder to get the tube lined up accurately. The spaceframe was then cut into it’s 3 constituent parts, and then glued back in place, with the stump now right in the middle. Filler pieces were made to compensate for the higher foredeck profile and various layers of weave followed.
Next, came the actual side pieces of the snout itself. These were laminated up off the boat (you can’t “line” the inside of the snout with carbon once it’s in place!), then glued in place, with a string passing through the middle to keep the right shape whilst the glue dried. The excess parts of the original bow were then chopped out, belt sanded smooth with the new foam, and then the various new fillets were covered in carbon and peel ply. A second forestay attachment point was kevlared to the spaceframe-theory being to use the old small jib if it’s seriously chanking.
Next came the foredeck itself. All the foam had come from Wiz at Matrix Mouldings (who sorted out a delivery issue very quickly…the 8mm foam ordered arrived as 5mm foam-he got the 8mm delivered very soon after and let me keep the 5mm, good man!) but was obviously not foredeck sized. We estimated the size and bogged the foam together. Again, the underside had to be covered in carbon first, so the surface was prepared with a light “smear” of bog all over to stop the foam absorbing too much resin. Unfortunately, it was very cold that night so Amine Blush appeared the next day. Nope, she’s not a porn star, but a nasty sticky residue that weakens the subsequent lay-up, so you need to give Amine a good rub down with some sandpaper and Solvent C to get rid of her.
On went the carbon and on went the foredeck. The boat then temporarily became the heaviest Cherub in the world as we weighted the deck down with all manner of heavy things (me excluded, as the pub was open at this point and Simon and I were thirsty) and bits of string to keep the deck in place.
Next came some more filler pieces at the back of the foredeck, and loads more carbon over the deck and sides of the snout. This became the point that Suicide Blonde ceased to look like a cute little boat and took on the air of a pretty serious bit of skiffery.
With the stump well and truly integral to the hull it was time to look at the mast. The 600 mast has very little rigging, so new spreaders were required. I shaped the cores from balsa and bogged them as per Darryl’s excellent instructional DVD.
Hull surgery
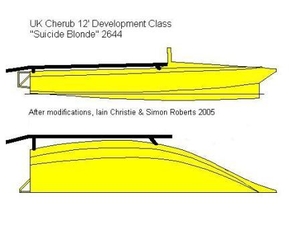
The first bit of Suicide Blonde's transformsation to 2005 rules involved re-engineering the front end to include a snout, thereby increasing LOA and allowing a larger jib, and adding a mast stump, which makes the mast up to gooseneck height an integral part of the boat. For aesthetics, and also to provide more support to the stump, a new curved foredeck was to be added. This would require the load-bearing spaceframe to be re-designed…
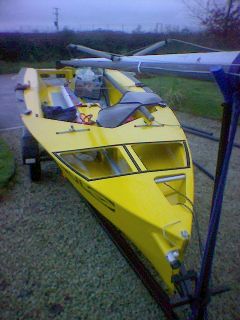
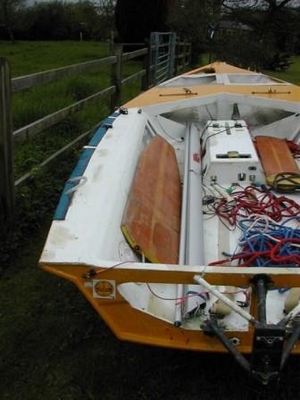
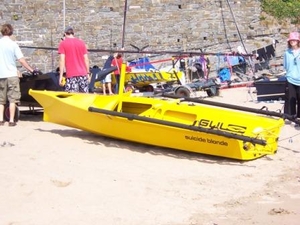
This picture was taken on a cold winter's morning at Simon Roberts' house. In this pic SB is in her “restored” condition…ie similar to how I bought her but with a coat of paint and some TLC. Note the offset aluminium pole (booooo!) and the lightening holes cut into the foredeck. This seemed a crap idea to me and I used to cover it with some smoked kevlar sailcloth velcro's in place.
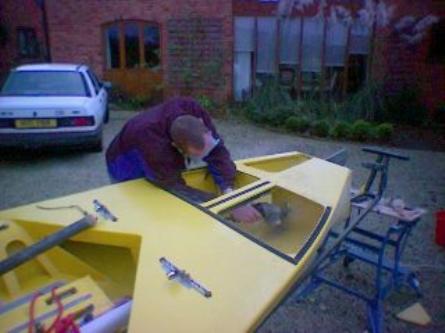
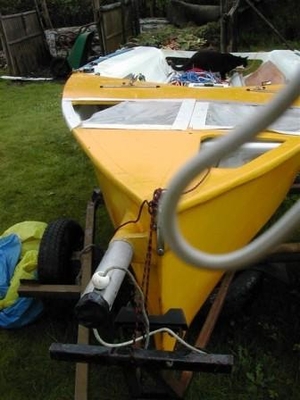
This bit was quite scary! Attacking my pride and joy with an angle grinder! Note the small nibble that has been taken off the front end compared with later pictures where we just rolled our sleeves up and took huuuuuge chunks of boat off with a variety of Black & Decker's finest.
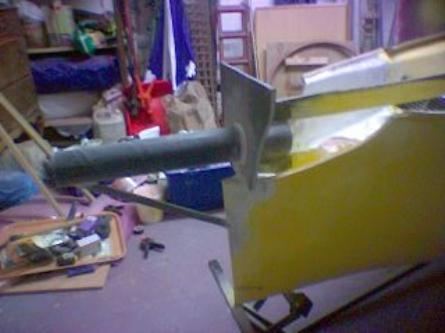
The tube is a broken piece of 49er bowsprit and will form the housing for the new pole (broken RS800 topmast). The foam/carbon bulkhead is visible, although yet to be trimmed down a fair bit. Also you can see the carbon/kevlar former which forms the profile of the new front end.
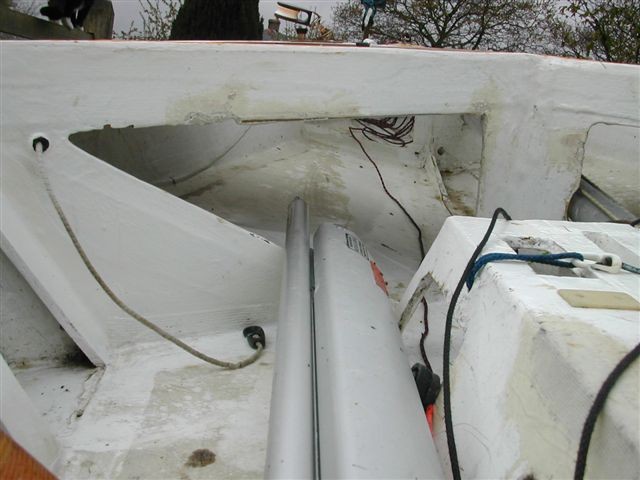
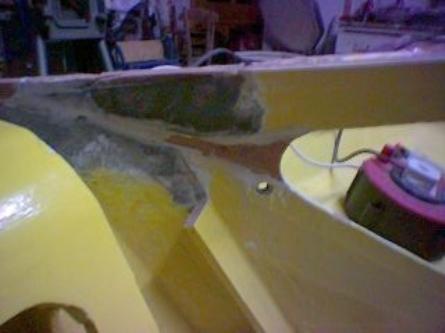
Big picture shows the original profile of the foredeck and spaceframe, little pic shows the foam filler pieces added to change the profile of the foredeck. The bullseye for the trapeze elastic is in the same place. This area is under a lot of stress so loads of carbon was added here.
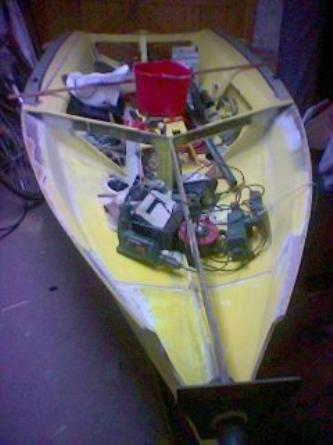
Foredeck off and spaceframe visible. Notice flat profile of spaceframe, prior to filler pieces and stump being added.
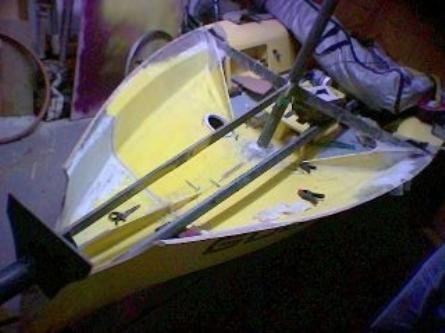
Similar pic to above, but now the stump is in place, and the spaceframe has a more curved profile at the back.
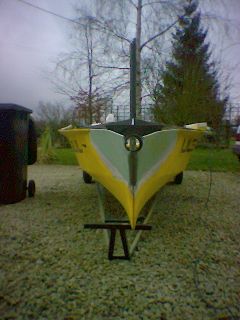
Side filler pieces of foam have now been added. You can see the mast stump if you peer up the snout tube…
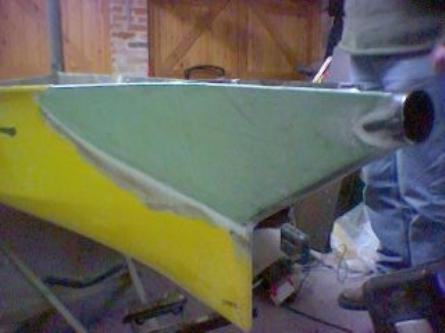
Side view of the snout. I much prefer the “blended” look of this style of snout rather than the simple tube type, plus it gives you a bit more bouyancy up front. However it does not show you in this view what is going on inside the snout…
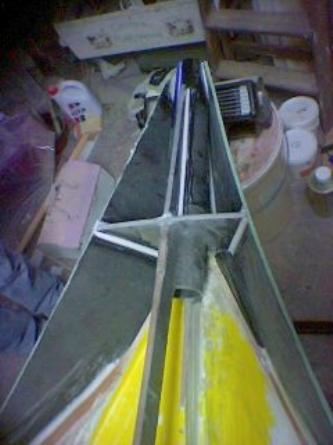
…lots of groovy carbon fibre and epoxy fillets. These fillets were subsequently covered with carbon weave and we made sure that the whole lot was very rigidly attached to the rest of the boat. There's 400lbs of rig tension pulling upwards on the very end of this lot and any structural failures would be a very, very bad thing…
Right then, time to put a foredeck on…
New foredeck
With the snout and spaceframe completed it was time to add the foredeck itself…
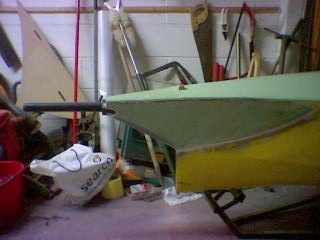
This shows the 8mm airex foam used for the fordeck…I used 5mm for the sides of the snout. The foredeck was made up from 4 pieces off the boat, and the carbon was laminated on the underside and allowed to dry first. Getting the deck to follow the contours of the boat without breaking along the join lines was quite tricky, and many weights/toolboxes/paint cans/whatever we could lay our hands on were used, as well as lots of rope to force the contours into the foam.
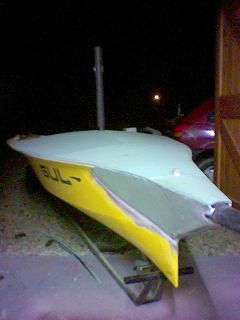
You can see the inner forestay attachement point in this shot. It is securley bonded to the spaceframe with lots of kevlar and carbon and it needs to be…it will only get used when I have built the no.2 (small) rig to be used with the old pre-97 rules sails for serious wind! However, it is still perfectly possible to twin-wire upwind and down in a F3 with average sized people on the wires…
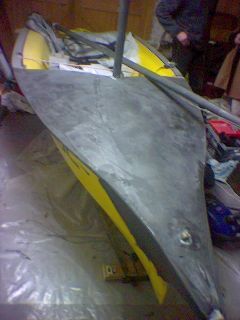
Ok so here we see the layer of carbon bonded to the deck, and running around the gunwales and round the snout keeping everything in place. When we removed the peelply from the carbon, there was a serious amount of that eerie blue light discharged…something to do with the molecular bonds breaking down in the epoxy. Turn the lights off an think Darth Vader and you won't be far wrong…
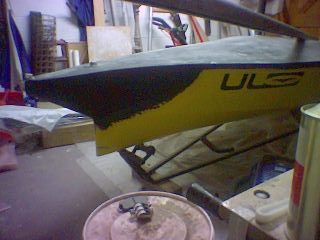
Another shot of the front end of the boat. The topsides had to be taken back to the laminate before the carbon was applied. Tricky stuff…Suicide Blonde is a kevlar boat and if your sander hits that kevlar you end up with a wooly mess (the kevlar strands) that quickly makes a Cherub look like a well loved teddy bear.
The rig
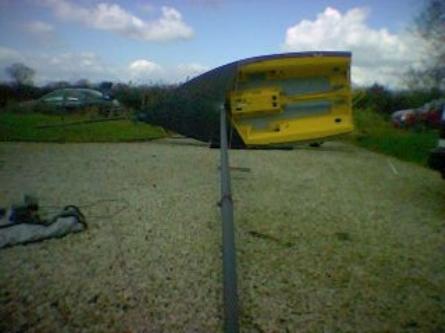
The mast is from an RS600. It actually blew over the side of a boat at an open meeting and was recovered months later when the water levels went down! Needless to say it looked very ill but it had potential! In this shot the mast (devoid of spreaders) has been tied in place so we could estimate the required spreder length and sweep. Amazingly, we got it right first time!
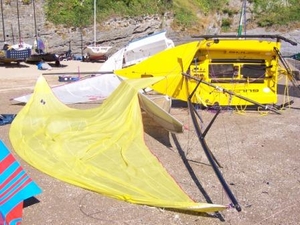
Bit of fun really, just HAD to put the kite up to see what it would look like! Again, no wire on the rig yet (just string!) and no capshrouds (hence bend in top of mast). Kit looks HUGE in this picture. It's an RS800 kite which measures at 21.5sqm. To make it class legal it needed to lose 0.5sqm, however with the way the measurment rules work in practice it was far less than this. Leaving the head and clew as they were, I took a sliver of material out of the kite that was only 10cm deep at it's widest point, halfway up the leech. Almost not worth bothering with!
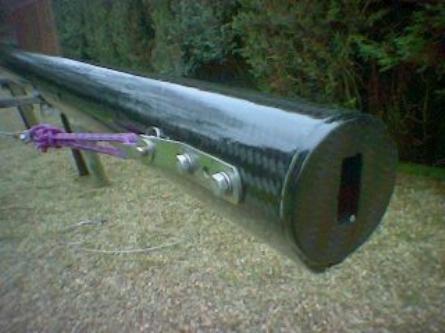
Mast is finished at this point, and varnished in International 2-pack Perfection varnish which has 7 times the UV protection of a single pack prooduct. Tangs are off an RS800 and throughbolted.
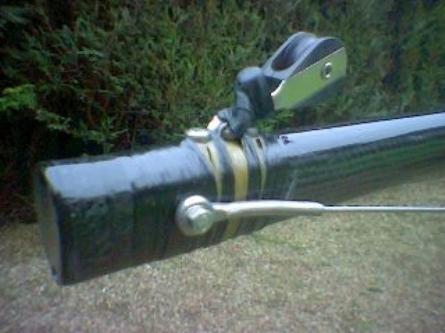
Mast head-note lack of main halyard…the sail just ties in place. Carbon and Kevlar tow reinforce the kite halyard block and caps which are also bolted in place. The whole rig measures just 14mm under the limit!
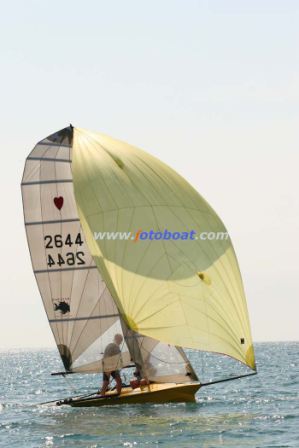
Compared to other pictures the kite looks small here…I think it is ballooning hence the clew seeming so high. However the heavily roached profile of the Red Eye main is apparent here, not so in other pictures. There is still some debate on the best way of fitting this much area on to the rig within the constraints. Loco Perro, Suicide Blonde and Shiny Beast all have this style of main, where Primal Scream's RMW/CST rig opts for a longer boom and less roach. There is certainly a shed load of power from my rig up high!
Racks & wheelie bars
Suicide Blonde's hull was narrower than the current ruleset so she needed widening to the 1.8m maximum to take advantage of the extra power from the big rig. I decided to do it by adding tube racks rather than flaring the hull. I also decided to add “wheelie bars” (aka aft gunwale extensions) to allow the crew to get their weight as far back as possible to stop pitchpoling. Not perhaps required on a lake venue in moderate winds but most certainly required for a windy bearaway in waves!!
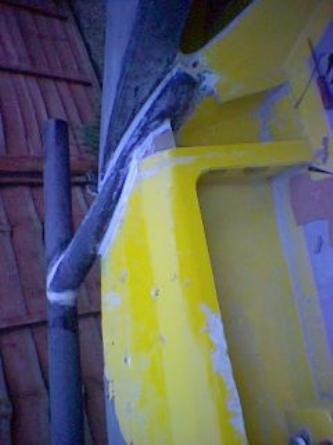
This was one of the trickiest parts. My guide and mentor, Slug/Dog/Platypus designer Simon Roberts was abroad on business…the boat was back in my garden and I was on my own! All of the tubes are bits of scrap RS800 mast and the forward attachment points are glued to the spaceframe to tranfer the loads into the strongest part of the boat. The white “bog” (epoxy/colloidal silica/microfibres/glass bubbles mix) is visible…this was carefully made good with a dremmel before a few layers of carbon were added. The tubes look like they dissapear into the spaceframe, in fact they were put on a belt sander so at the outer end they are still O in cross section, and at the inner end they are C shaped, with the points of the C being glued to the spaceframe. The joins between the main tubes and the supports were all done by eye with a dremmel, with pieces of wood temporarily screwed to the boat as guides.
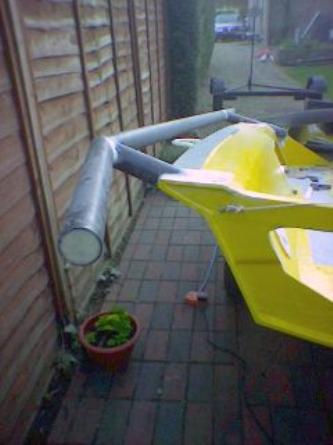
Here's the aft end of the boat. The rear supports just go around the sides of the gunwales, again with bogged in place. Strips of unidirectional put the loads down onto the transom and 3 layers of weave keep the whole lot together. Even with me bouncing around on the back end they have stayed in place, even though they look like they should have something from the ends transferring loads down to the rudder gantry.
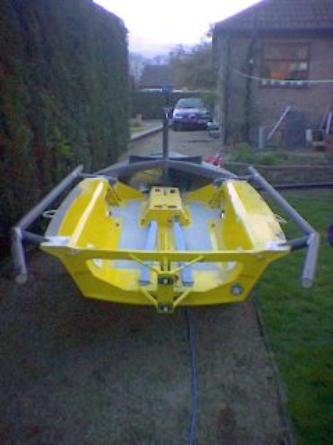
Above is a view of the completed racks prior to carbon being applied. I was amazed how straight they turned out, exactly parallel everywhere. The wheelie bars droop down by about 10 degrees and turn in a bit, the idea being that it makes it easier to stay attached to the boat whilst wiring from the back. However, in practice the bars tend to catch the stern wave a bit in the marginal planing stuff…looks very impressive with sheets of white water everywhere but perhaps not the most efficient! Note the long tunnel in the middle of the boat. Most of this was to be removed…it used to house the old pole and small kite but was now surplus to requirements…and in the way!
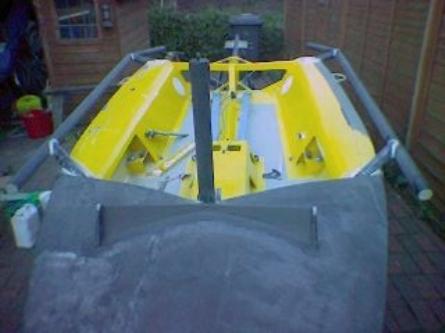
View from the front of the boat prior to paint and progrip…
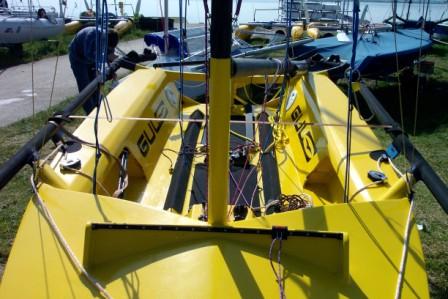
And afterwards. The ends of the self tacker track are actually surplus bits of balsa cored carbon spreader from the mast! Note also the shorter tunnel and new kick bars running inside the cockpit which also conceal the helm's trapeze elastics.
Spraying the boat
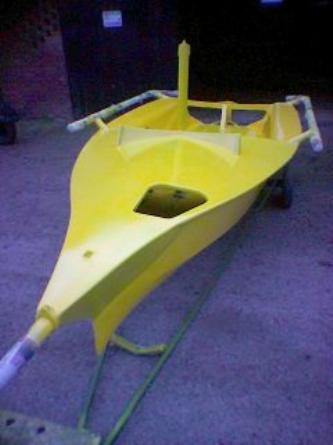
The boat after her first coat of paint. It's actually narrow boat paint, Canary Yellow from Midland Chandlers, Braunston. This is probably going to be the fastest yellow narrow boat paint about! I'd borrowed a barn, a compressor, a couple of guns and crucuially an air-fed mask. Don't start messing around with thinners and sprayguns unless you really want to be off with the faries…
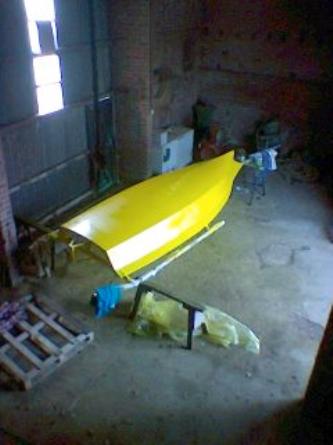
When this picture was taken, I was obviously off with those damn faires. I was working alone and had to turn the boat over and get it on and off it's trolley without scratching it…easier said than done!
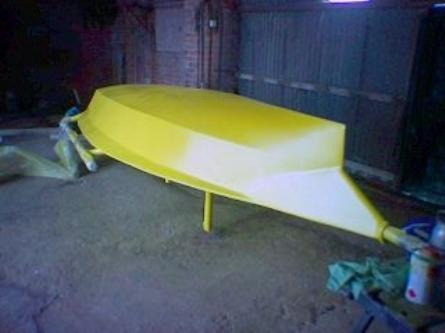
The mast stump meant that it was a little tricky to move the boat around, but I supported it on the racks and bowsprit (both masked up) which did the job OK. It was funny, I was used to looking at a boat with this new front end in black tacked on the end…at this point she suddenly seemed to become one whole boat.
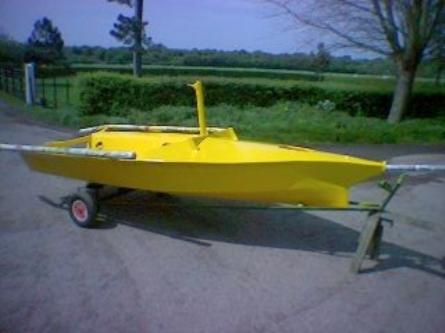
And pushed out into the sunshine for the first time. I have to say she looks pretty mean!
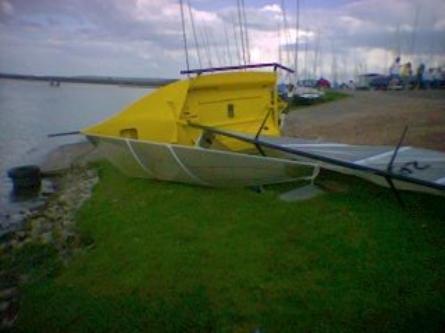
Devoid of fittings and progrip, here she is trying her new Redeye sails on for the first time at Draycote Water. The jib needed a slight re-cut as it was a little long in the foot (I'd added the self tacker after Andrew from Redeye had measured the boat) and the main had some fullness taken out of the top.
